

In my last post, I created an Nginx Ingress controller and added rules to route to my two microservices. This solution worked but it was far from optimal. First, I had to add routing rules for my microservices, and even worse using an IP address is very ugly in intuitive for the users.
Today, I will add URLs to my microservices to make them easily accessible for my users.
This post is part of “Microservice Series - From Zero to Hero”.
Add a DNS Entry for your Domain
Before you can use your own URL, you have to create an Azure DNS zone. In the Azure portal, search for DNS zone and click create. Provide a subscription, resource group, and the name of your domain.
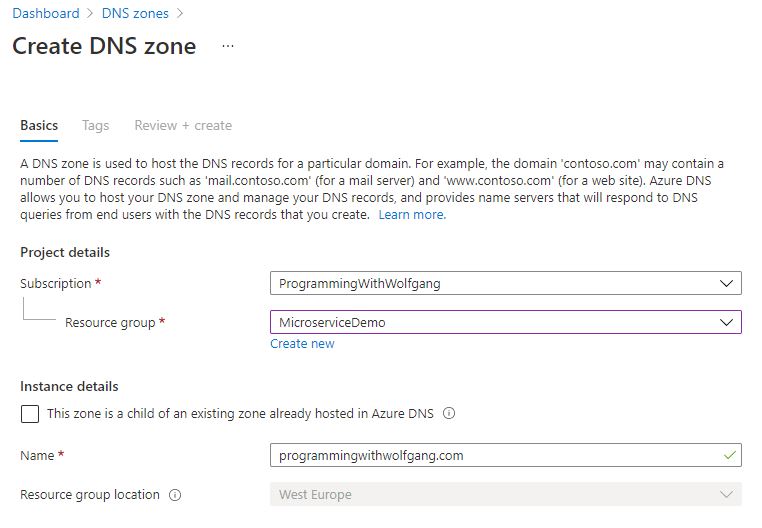
Add a new DNS zone
After the DNS zone is created, click on + Record set and add a new A record pointing to the URL of your Nginx controller. If you don’t have a public IP yet, see Set up Nginx as Ingress Controller in Kubernetes to configure one. Since I have two microservices, I added two subdomains, customer.programmingwithwolfgang and order.programmingwithwolfgang.
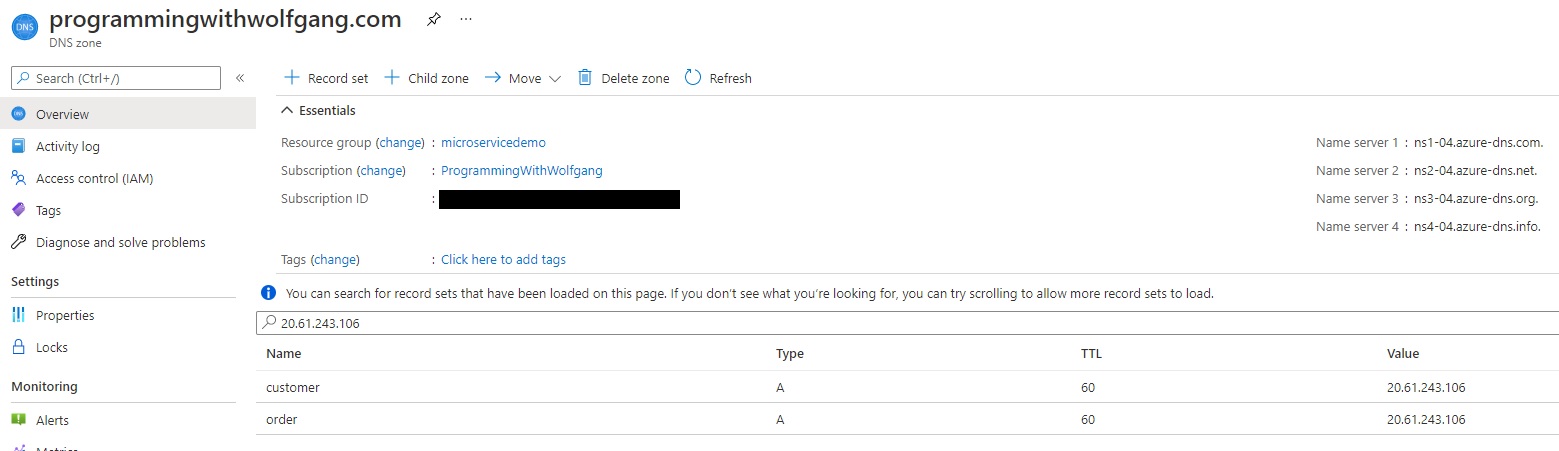
Add A records for your subdomains pointing to your Kubernetes cluster
Note: I had a different public IP address in my post Set up Nginx as Ingress Controller in Kubernetes. If you are following the series, make sure to add the IP address of your Nginx controller.
If you are hosting your domain outside of Azure, add the Azure DNS zone namespaces to your domain provider. In my provider, I have the following GUI to configure the nameservers:
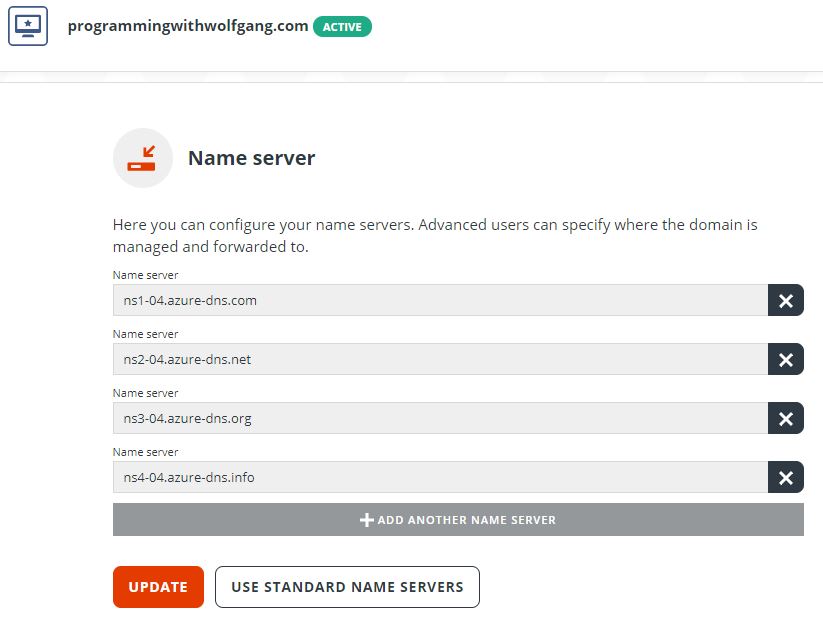
Add the Azure DNS server
It might take a bit until the DNS servers are updated. You can check the DNS entries with nslookup:
Once the DNS entries are updated, open your URL in your browser and you should see the Nginx 404 page.
Route Traffic according to the URL
You can find the code of the demo on GitHub.
The DNS settings are configured and now you want to tell Nginx to route customer.programmingwithwolfgang to the customer microservices and order.programmingwithwolfgang to the order microservice. This can be done easily with a change in the ingress configuration. The ingress controller is defined using Helm. If you don’t know Helm, see Helm - Getting Started and Deploy to Kubernetes using Helm Charts.
All you have to do is to add the - host: parameter above the http section and provide your URL:
After adding the host line in the ingress.yaml file, add your URL to the values.yaml file. Additionally, change the path from /customerapi-test/?(.*) to /. Since the microservices are using different URLs, you don’t need different paths anymore. The values.yaml file should now look as follows:
The URL is defined as a variable in the CI/CD pipeline and will be added by the Tokenizer. For more information about the Tokenizer, see Replace Helm Chart Variables in your CI/CD Pipeline with Tokenizer.
In my last post, I had a small workaround in the Startup.cs class to get Swagger working. This workaround is not needed anymore due to the usage of the URL and therefore can be removed:
That’s it. Deploy both microservices and let’s test them.
Testing Microservices using custom URLs
After the deployment is finished, navigate to customer.programmingwithwolfgang (obviously you have to use your own URL) and you should see the Swagger UI. The UI wasn’t working when using the IP instead of the URL but this problem is now fixed.
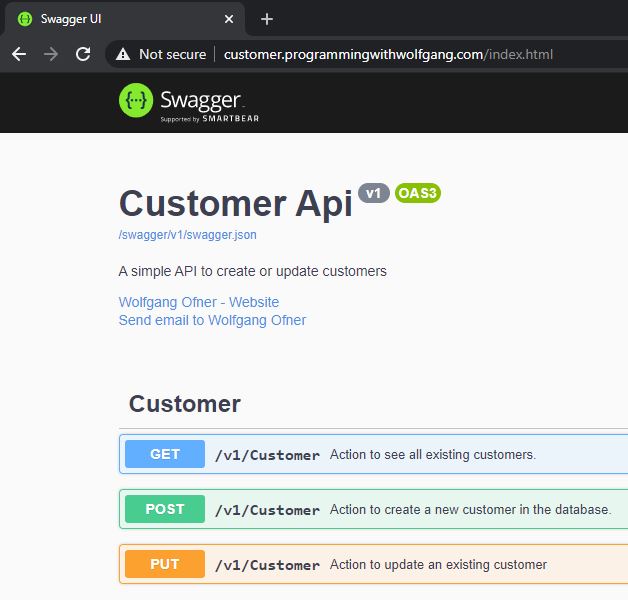
The Swagger UI of the Customer Microservice with the custom URL
The order microservice is working as well with its custom URL.
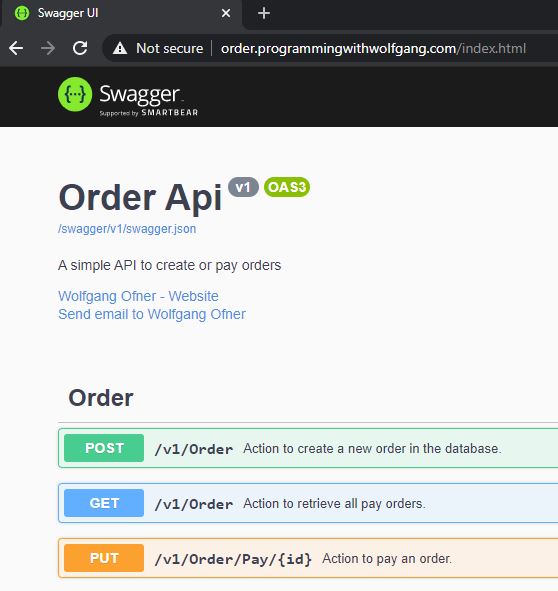
The Swagger UI of the Order Microservice with the custom URL
Conclusion
Using custom URLs or subdomains is surprisingly easy with Nginx and Kubernetes. Setting up the URLs is fast and gives your users or testers a better experience than the IP address I used before. Additionally, the Swagger UI problems were also fixed. Using a custom URL is a better solution than using an IP address but it is still not optimal.
In my next post, I will automatically create certificates enabling the use of HTTPS and also will implement SSL termination in the Nginx ingress controller.
You can find the code of the demo on GitHub.
This post is part of “Microservice Series - From Zero to Hero”.
Comments powered by Disqus.