

Over the last couple of weeks, I created several microservices with the same project structure. Setting up a new solution was quite repetitive, time-consuming, and no to be honest no fun. Since my solutions have the same structure, I created a Visual Studio template that sets up everything for me. Today, I want to show you how to create your Visual Studio template with ASP .NET MVC with .NET Core 3.1 and Docker.
Creating a Visual Studio Template
I plan to create a skeleton for my solution and when creating a new project with my template to take the user input as the name for the projects and the entities. For example, if the user names the solution Customer, I will create a Customer.Api, Customer.Service and Customer.Data project and also a Customer entity. You can find the code of the demo on GitHub. Note that there are two branches.
Creating the Structure of the Project for the Visual Studio Template
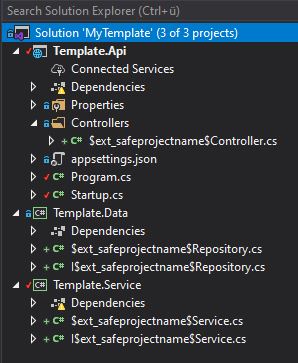
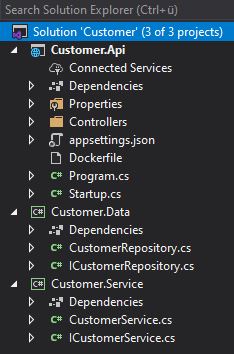
The first step is to create the structure of your Visual Studio template. Therefore, I created an empty C# solution and add three projects, Template.Api, Template.Service and Template.Data. For the template, you can install any NuGet you want or add code. I added a controller that calls a service that calls a repository to get some data.
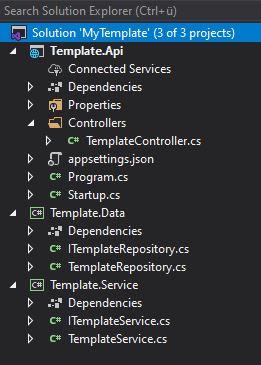
Visual Studio Template Project Structure
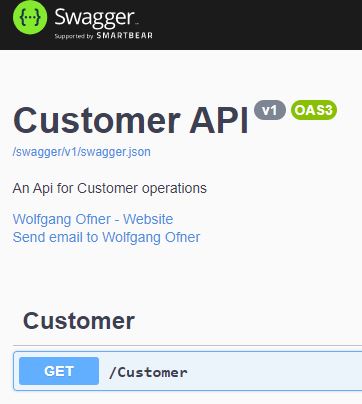
Additionally, I added Swagger to have a UI to test the Api method. When you are satisfied with your project, run it. You should see the Swagger UI now.
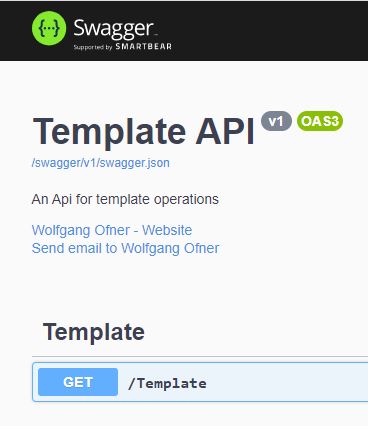
The Swagger UI for the template
As the last step, I test the Get method to verify that everything works correctly.

Testing the Template Api
The template is set up and as the next step, I am going to export it and install it in Visual Studio.
Export the Template
To export the Visual Studio Template, click on Project and then Export Template.
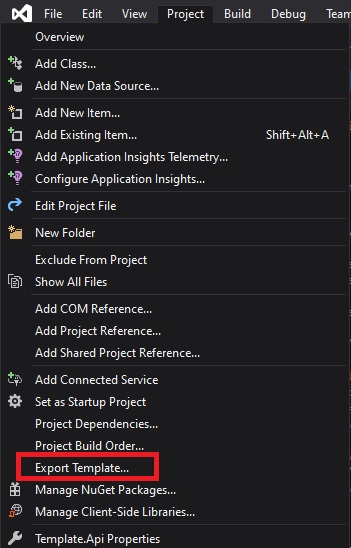
Export the Visual Studio Template
This opens a new window in which you can select what template you want to export and which project. Leave it as Project template, select the Template.Api project and click on Next.
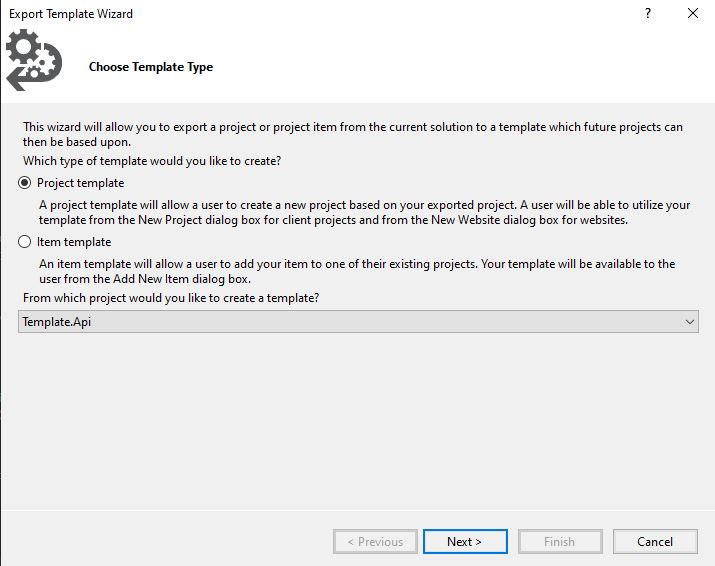
Choose which Project to export
On the last page of the export, uncheck both checkboxes and click Finish.
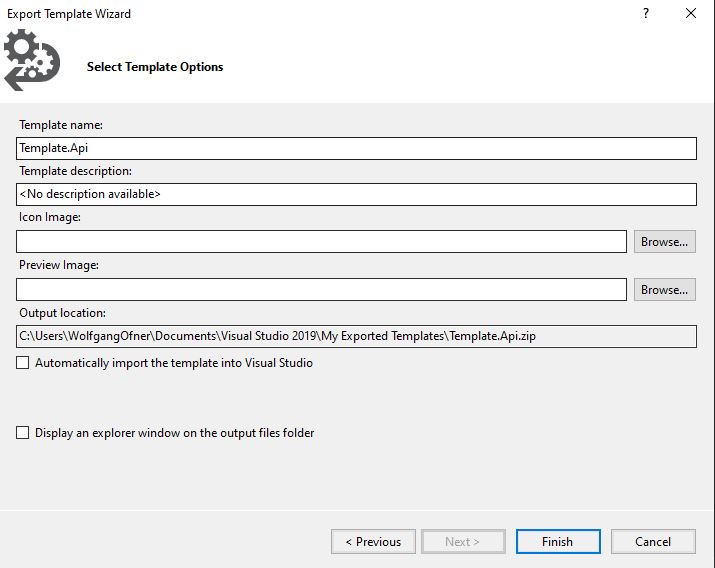
Finish the Export
Repeat this export for all other projects in your solution. After you are finished, you can find the exported files under C:\Users<YourUserName>\Documents\Visual Studio
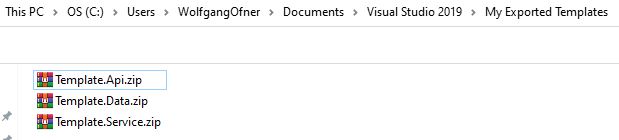
The exported .zip files
Unzip every zip file into a separate folder and delete the zip files. I get quite often a warning that the file header is corrupt during the unzip. You can ignore this message though. Next, create a file with a vstemplate ending, for example, Template.vstemplate in the folder where you unzipped your templates. This file contains links to all projects in the template in the XML format. Copy the following code into the file:
Save the file and create a zip of the three folder and the template file. You can easily do this by highlighting everything and the right-click and then select Send to –> Compressed (zipped) folder. Your folder should contain the following files and directories now:
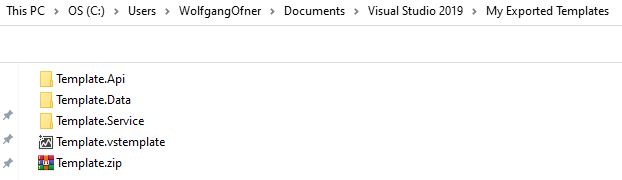
Content of the template folder after finishing the creation of the template
Install the Visual Studio Template
To install the template, all you have to do is to copy the Template.zip file into the following folder: C:\Users<YourNameUser>\Documents\Visual Studio
Testing the new Template
Open Visual Studio and select Create a new project. Search for My Template and the previously added template will be displayed.
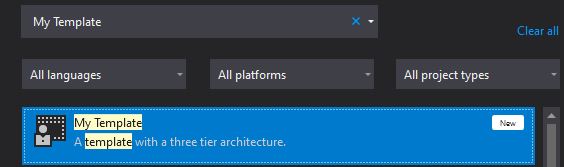
Select your template in Visual Studio
Create the project and you will see the same structure as in the template. When you start the project, you will see the Swagger UI and can test the Api methods.
Make the Template flexible with Variables
Having a template is nice but it would be even nicer if the projects weren’t named Template and if they would take the name I provide. To achieve this, Visual Studio offers template parameters. You can find all available parameters here. The goal is to name the projects and files accordingly to the user input during the creation of the solution. To do this, I use the variable safeprojectname. This variable gives you the name of the current project. To get the name of the solution prefix it with ext_, therefore I will use ext_safeprojectname. All variables have a Dollar sign at the beginning and the end.
Replace Class Names and Namespaces with Variables
I am replacing in all files Template with $ext_safeprojectname$, for example, the TemplateService class:
Adding the variable also adds a lot of errors in your solution. You can ignore them though.
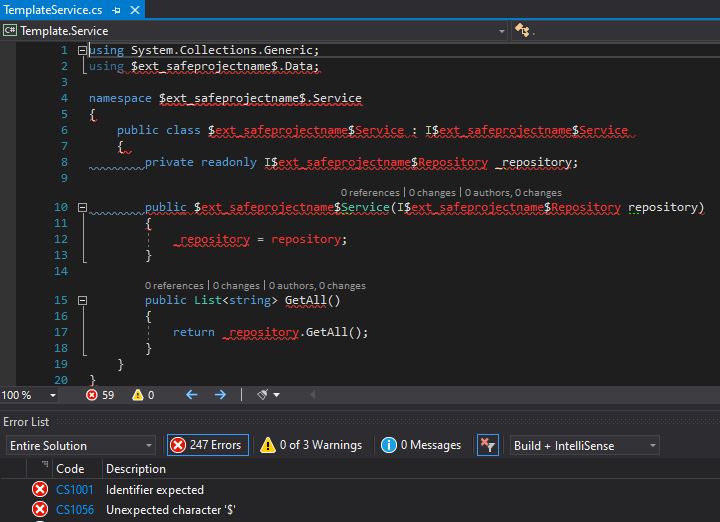
Errors after adding the template variables
Replace File Names with Variables
Not only class names and namespaces should have the provided name, but also the classes should be named accordingly. You can do the same as before and replace Template in all file names with $ext_safeprojectname$. You don’t have to change the project name though.
Replace the file names with variables
Export the Template
Repeat the export from before by clicking on Project –> Export Template and export all your projects. Delete your previously created folders and unzipp the exported zip files. In the vstemplate file, replace Template with $safeprojectname$. This will rename the project files. Also make sure that CopyParameters=”true” is set for every project. Otherwise, the user input won’t be copied and the variables will be empty.
Zip all files and copy the zip over the previously created zip in the Visual C# folder. Create a new project and select your template and enter Customer as project name. If you did everything right, all files and projects should be named correctly and the project should build without an error. It is very easy to have errors on the first try since you don’t have any help to find errors in the template and every typo will result in a build error.
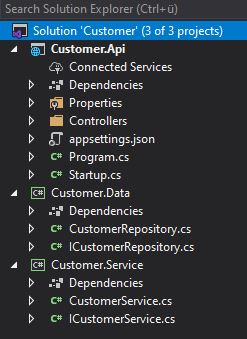
All files got renamed correctly
When you don’t have any error, run the project and you should see Customer in the headline, description and Controller.
Testing the created solution
Add Docker Support to the Visual Studio Template
Adding Docker support to your Visual Studio Template is very simple. Right-click on your Template.Api project and select Add –> Docker Support. Select an operating system and click OK. This adds a Dockerfile and that’s it already.
Use Variables in the Dockerfile
Since we use variables everywhere, we have to use variables also in the Dockerfile because otherwise the projects wouldn’t be found since their name will change when the solution is created. Replace every Template with $ext_safeprojectname$ in the Dockerfile. When you are done export the project again. This time you only have to export the Api project.
After adding the new template to Visual Studio, create a new project and you will see the Dockerfile in your solution.
The Dockerfile is in the created project
Conclusion
Use a Visual Studio Template to set up solutions that have the same structure. Microservices often have the same skeleton and are a great candidate for this. Templates allow you to install all NuGet packages and also to add Test projects. Another advantage is that even junior developers or interns can set up new projects.
You can find the code for the template without variables here and the template with variables here.
Comments powered by Disqus.