

In my last post, I explained how Helm works and how to add it to your microservice. This post is going to be more practical. Helm is a package manager that helps you to deploy your application easily to Kubernetes.
In this post, I will show you how to deploy an application to Kubernetes using Helm and how to avoid some pitfalls.
This post is part of “Microservice Series - From Zero to Hero”.
Deploy the Microservice with Helm
You can find the code of the demo on GitHub.
Set up
To follow along with this demo, you have to have a Kubernetes cluster running. This can be on your local machine or in the cloud. I am using Azure Kubernetes Service. If you haven’t set up Kubernetes yet, read my post about AKS “Azure Kubernetes Service - Getting Started” to set up a cluster on Azure.
Before you can deploy your application with Helm, you have to install Helm. You can use chocolatey on Windows to install it:
For all other operating systems, see the Helm download page to download the right version for your system.
Deploy your Microservice with Helm
After you have installed Helm, open to charts folder of your application. In the demo application, the path is CustomerApi/CustomerApi/charts. There you can see a folder named customerapi. This folder contains the Helm package. To install this package use helm install [Name] [ChartName]. For the demo application this can be done with the following code:
The package gets deployed within seconds. After it is finished, connect to the dashboard of your cluster. If you don’t know how to do that, see my post “Azure Kubernetes Service - Getting Started”. There I explain how I use Octant and how to access your Kubernetes cluster with it.
In the dashboard, open the customerapi pod and you will see that there is an error.
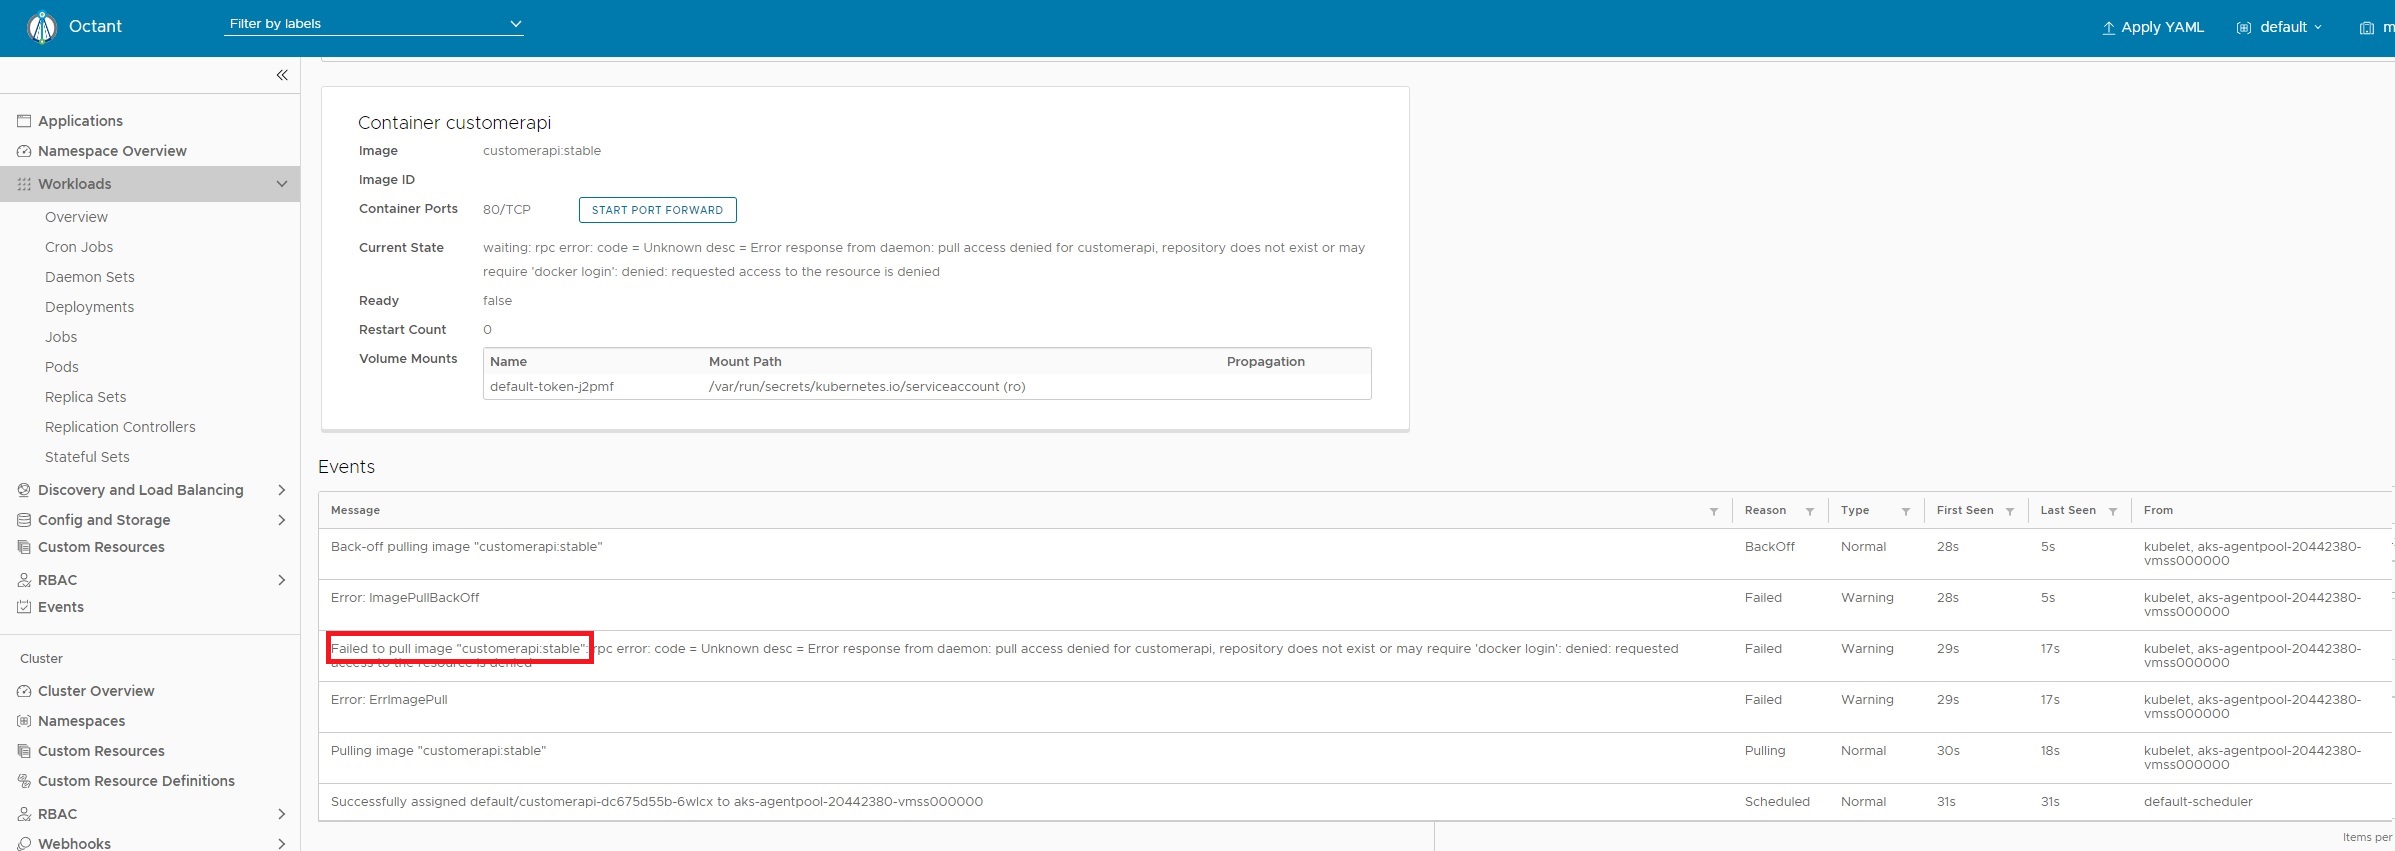
The pod can't start
The error message reads: “Failed to pull image customerapi:stable”. The image can’t be pulled because it doesn’t exist with the stable tag. Another reason why the image can’t be pulled is that the repository can’t be found. My repository is wolfgangofner/customerapi, not customerapi. Let’s update the repository and tag and update the application with Helm.
Change the Configuration of the Helm Chart
You can find the values.yaml file inside the customerapi Helm chart. This file provides a way to override the values of the configuration. Under the image section, edit the repository and the tag to use the correct ones:
It is a best practice to always use a version number as the tag and not latest. Using the latest tag might end up in problems with the container cache but more important you can’t exactly know what version of the application you are running. For example, you are running latest but tomorrow I update latest to a new version. The next time your container gets restarted, it loads the new image and this might break your application.
Update a Helm Deployment
The configuration is updated and we can re-deploy the Helm chart. To update an existing deployment use helm upgrade [Name] [ChartName]:
Test the deployed Application
After the Helm upgrade is completed, connect to the dashboard and open the pod again. There you can see that the pod is running now.
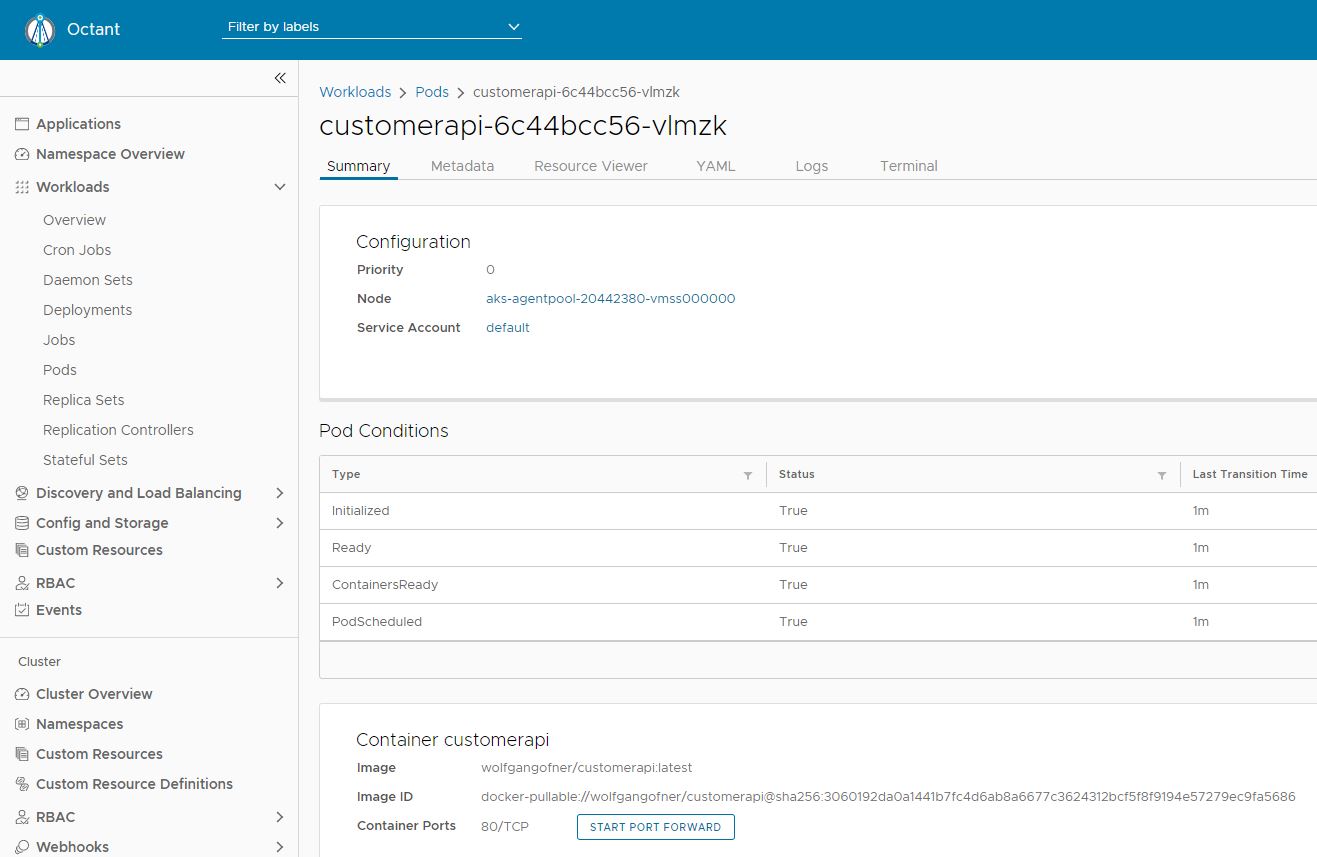
The pod is running
The application is running but how can you access it? The dashboard allows you to enable port forwarding for the pod by clicking the button “Start Port Forward”. Click it and you will get an URL that will forward to your application.
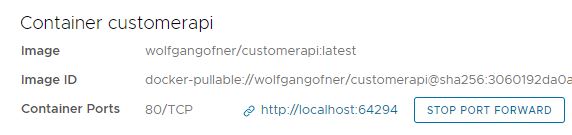
Enable port forwarding
Open the URL and you will see the Swagger UI of the Customer API microservice.
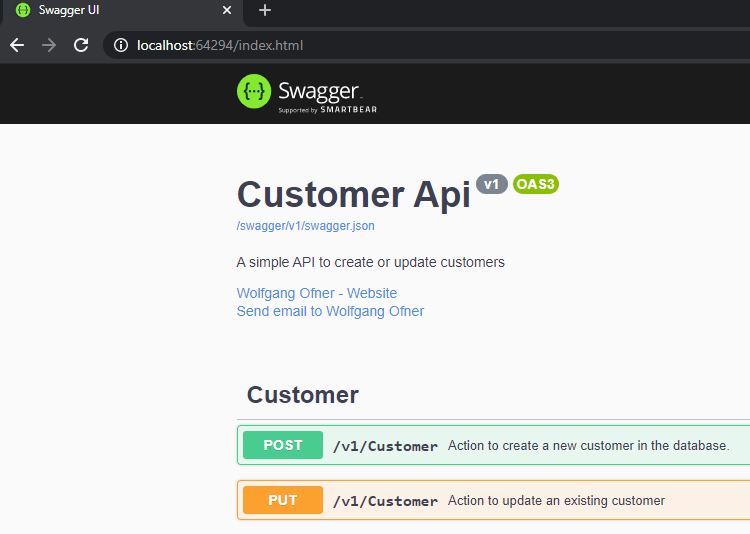
The Customer API Swagger UI
That’s nice to see but impractical since our customers won’t connect to our Kubernetes cluster before they access our applications. In my last post, I said that the Service object works as a load balancer and offers an external endpoint to access the application. Go to Services and check the external IP for the customerapi.
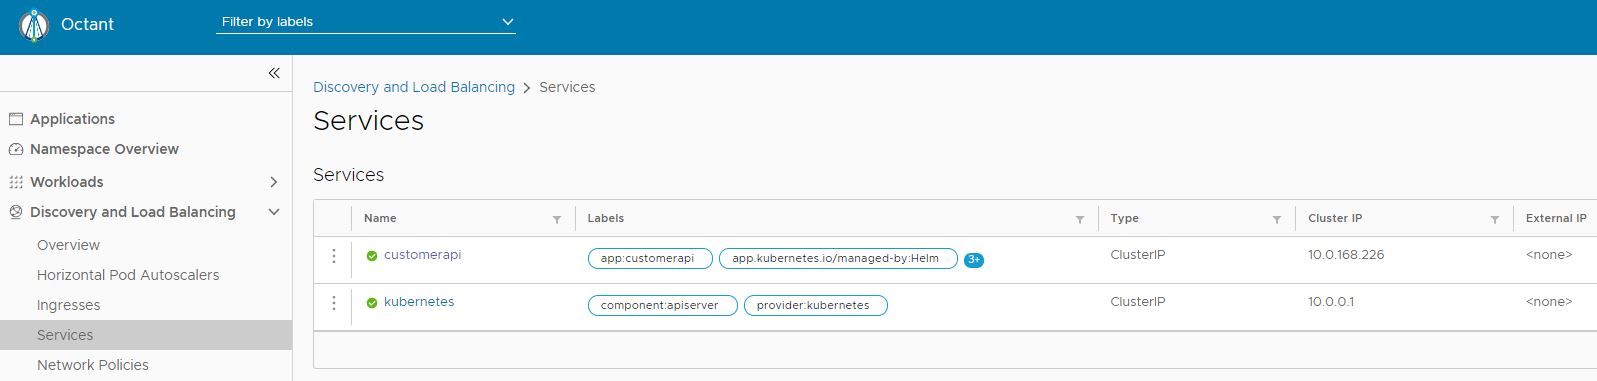
The Service has no external IP
The Service has no external IP. This is because the type of the service is ClusterIP. ClusterIP only publishes an internal IP but no external one. This means we have to update the Service to enable the external endpoint and then publish the application again. This works because Azure creates an Azure Loadbalancer and assignes it a public IP Address. If you run your K8s cluster on-premises, you have to point the public IP to the endpoint yourself.
Expose the Application to the Outside
To update the Service type, open the values.yaml file again and find the service section. Update the type from ClusterIP to LoadBalancer and save the file.
Update the deployment with Helm upgrade again.
After the upgrade is finished, you can use either use kubectl to get the service IP or look it up in the dashboard. To use kubectl use the following command in Powershell:
Alternatively, open the Service in the dashboard again, and there you can see the external IP.
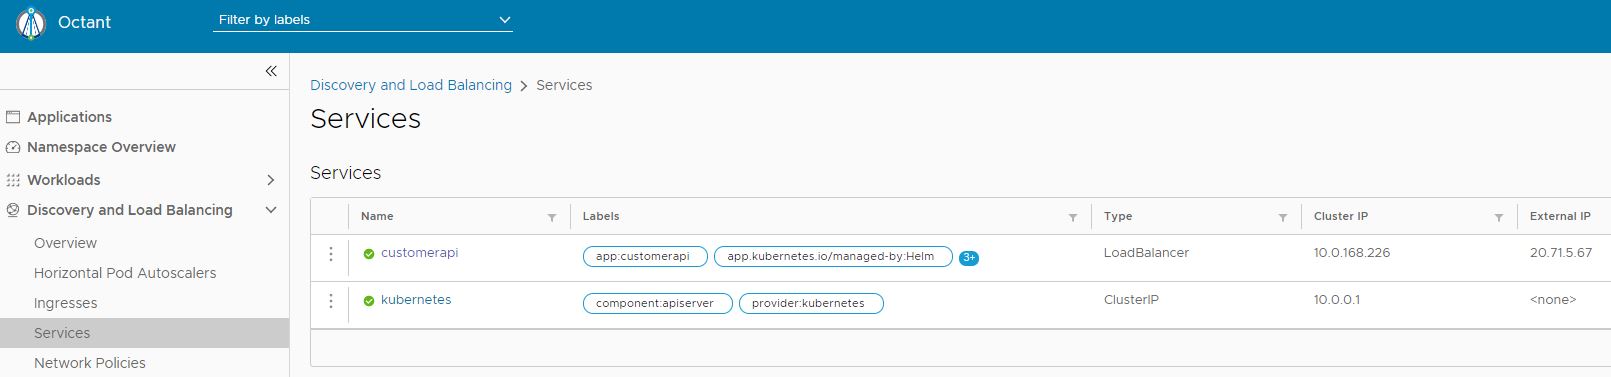
The Service has an external IP now
Enter his IP address in your browser and you will see the Swagger UI of the Customer API Microservice.
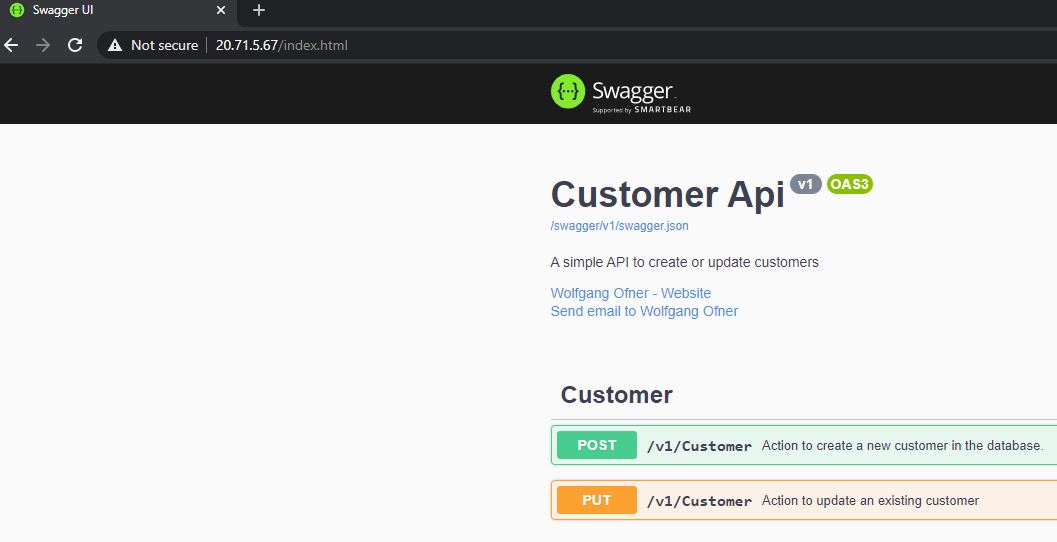
The microservice is publicly accessible
Conclusion
Helm is a package manager for Kubernetes and can be used to easily deploy and update your applications. I showed how to quickly update the configuration with the values.yaml file and how to make your application publicly accessible with the Kubernetes Service object.
In my next post, I will show how to override values in the appsetting.json file with environment variables to allow for more dynamic configurations.
You can find the code of the demo on GitHub.
This post is part of “Microservice Series - From Zero to Hero”.
Comments powered by Disqus.