

Microsoft Azure offers with Azure SQL database a great alternative to an on-premise SQL database. In this post, I will talk about the advantages of having the database in the cloud, how to get data into the cloud and how to use Elastic pools to share resources between several databases. The last section will be about implementing graph functionality in an Azure SQL database.
Create an Azure SQL database
To create an Azure SQL database in the Azure portal, follow these steps:
- In the Azure portal go to SQL databases and click +Add.
- On the SQL Database blade provide:
- Name
- Subscription
- Resource group
- Source (Blank database, Demo database or a backup)
- Server
- Pricing tier
- After you entered all information, click on Create.

Create a new Azure SQL database
Choosing the appropriate database tier and performance level
Azure offers three different pricing tiers to choose from. The major difference between them is in a measurement called database throughput units (DTUs). A DTU is a blended measure of CPU, memory, disk reads, and disk writes. SQL database is a shared resource with other Azure customers, sometimes performance is not stable or predictable. As you go up in performance tiers, you also get better predictability in performance.
The three pricing tiers are:
| Pricing tier | Description |
| Basic | The Basic tier is meant for light workloads. I use this tier for testing and at the beginning of a new project. |
| Standard | The Standard tier is used for most production online transaction processing (OLTP) databases. The performance is more predictable than the basic tier. In addition, there are 13 performance levels under this tier, levels S0 to S12. |
| Premium | The Premium tier continues to scale at the same level as the Standard tier. In addition, performance is typically measured in seconds. For instance, the basic tier can handle 16,600 transactions per hour. The standard S2 level can handle 2,570 transactions per minute. The top tier premium of premium can handle 75,000 transactions per second. |
Each tier has a 99,99 percent up-time SLA, backup and restore capabilities, access to the same tooling, and the same database engine features.
Analyzing metrics
To review the metrics of your Azure SQL database, follow these steps:
- In the Azure portal go to your Azure SQL database.
- On the Overview blade, click on the Resource graph.
- This opens the Metrics blade. There select the desired metrics, you wish to analyze.
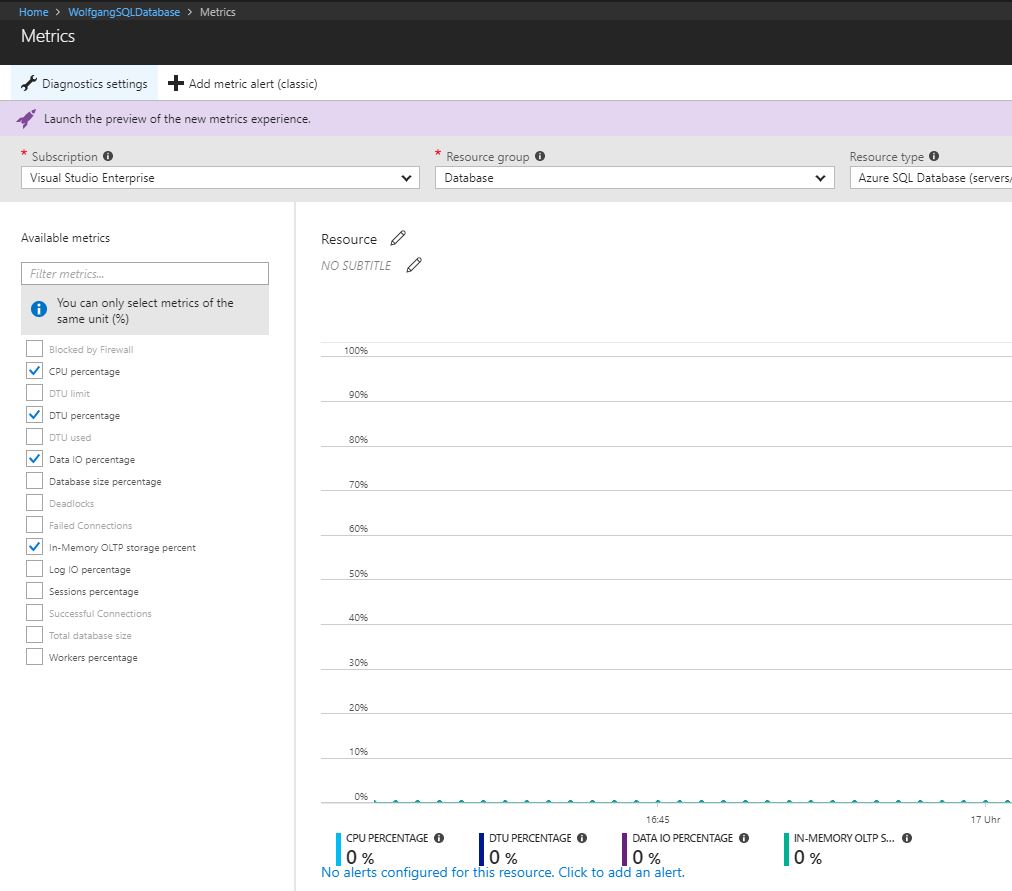
Configure the metrics graph
Note that there is nothing on the graph because I just created the database and haven’t used it yet.
Configure and performing point in time recovery
Azure SQL database does a full backup every week, a differential backup each day, and an incremental log backup every five minutes. The incremental log backup allows for a point in time restore, which means the database can be restored to any specific time of the day. This means that if you accidentally delete a customer’s table from your database, you will be able to recover it with minimal data loss if you know the time frame to restore from that has the most recent copy.
The further away you get from the last differential backup determines the longer the restore operation takes. When you restore a new database, the service tier stays the same, but the performance level changes to the minimum of that tier.
The retention period of the backup depends on the pricing tier. Basic retains backups for 7 days, Standard and Premium for 35 days. A deleted database can be restored, as long as you are in within the retention period.
Restore an Azure SQL database
To restore an Azure SQL database, follow these steps:
- In the Azure portal, on the Overview blade of your database, click on Restore.
- On the Restore blade, select a restore point, either Point-in-time or Long-term backup retention.
- If you selected Point-in-time, select a date and time. If you selected Long-term backup retention, select the backup from the drop-down list.
- Optionally change the Pricing tier.
- Click on OK to restore the backup.

Restore an Azure SQL database
Restore a deleted Azure SQL database
To restore a deleted Azure SQL database, follow these steps:
- In the Azure portal, go to your SQL server and select the Deleted databases blade under the Setting menu.
- On the Deleted databases blade, select the database, you want to restore.
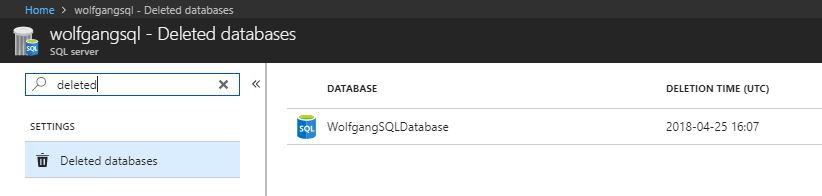
Select a deleted Azure SQL database to restore
- On the Restore blade, change the database name if desired and click OK to restore the database.
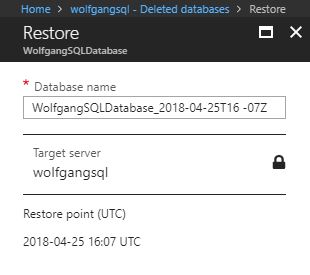
Restore the deleted Azure SQL database
Enable geo-replication
By default, every Azure SQL database is copied three times across the datacenter. Additionally, you can configure geo-replication. The advantages of geo-replication are:
- You can fail over to a different data center in the event of a natural disaster or other intentionally malicious act.
- Online secondary databases are readable, and they can be used as load balancers for read-only workloads such as reporting.
- With automatic asynchronous replication, after an online secondary database has been seeded, updates to the primary database are automatically copied to the secondary database.
Create an online secondary database
To enable geo-replication, follow these steps:
- Go to your Azure SQL database in the Azure portal and click on Geo-Replication under the Settings menu.
- Select the target region.
- On the Create secondary blade, enter the server and pricing information.
- Click on OK.
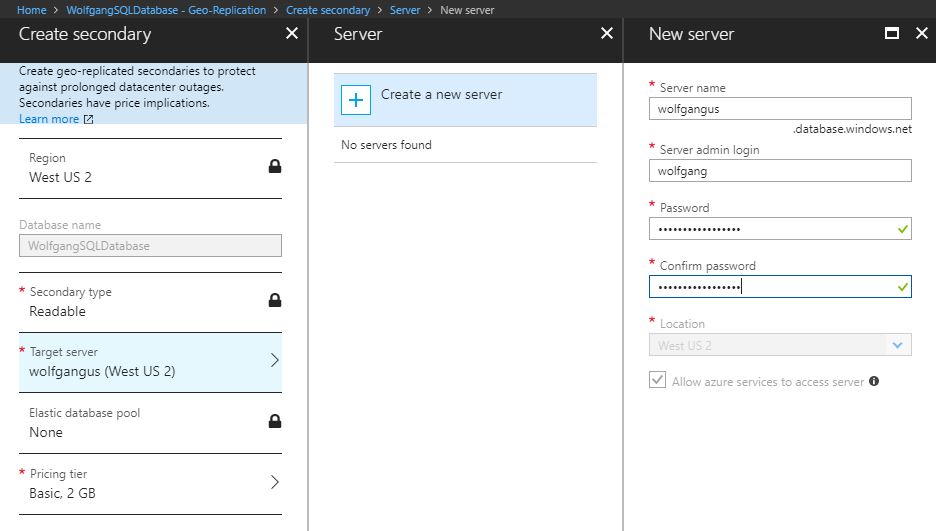
Create an online secondary database
Import and export schema and data
To export the metadata and state data of a SQL server database, you can create a BACPAC file.
Export a BACPAC file from a SQL database
To create a BACPAC file, follow these steps:
- Open SQL Server Management Studio and connect to your database.
- Right-click on the database, select Tasks and click on Export Data-tier Application.
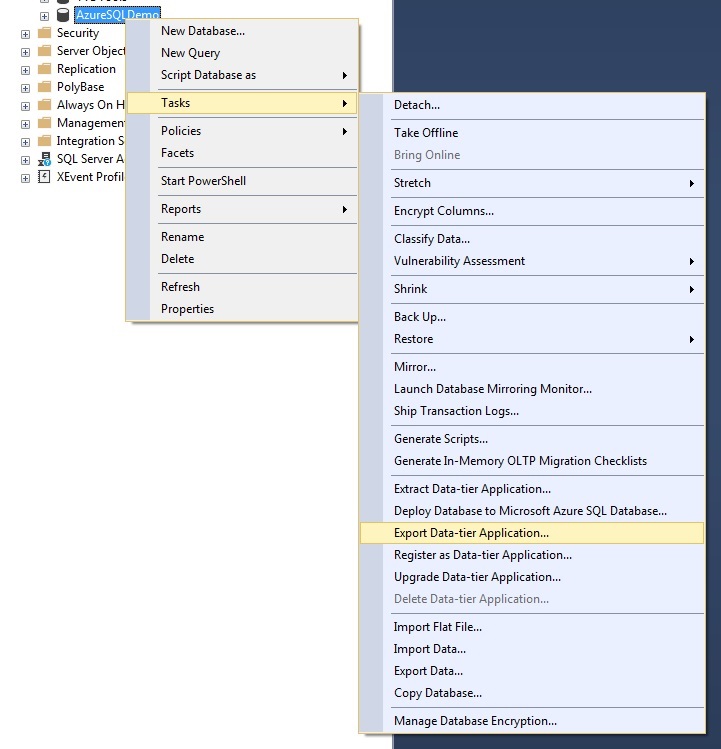
Export your source database
- In the Export Data-tier Application wizard, you can export the BACPAC file to Azure into a blob storage or to a local storage device.
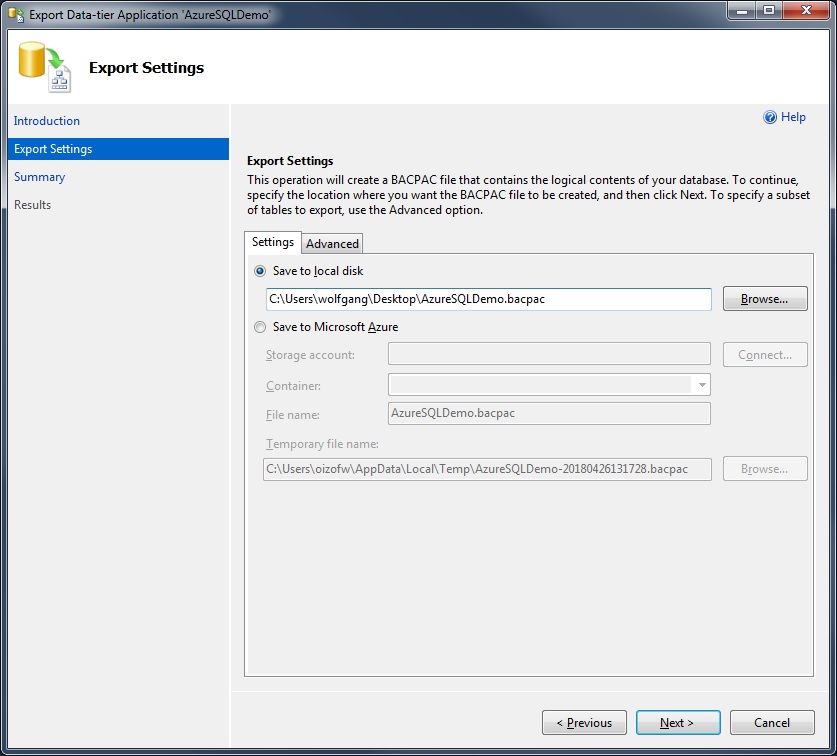
Select a location for the export file
- After you selected the export destination, click Next and then Finish to export the file.
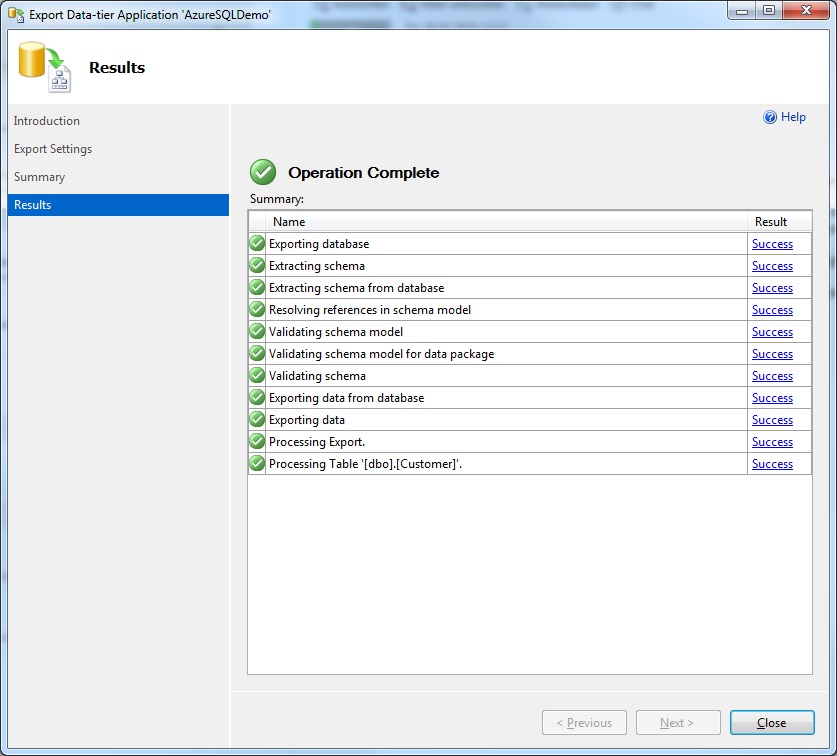
Export successful
Import a BACPAC file into Azure SQL database
To import a BACPAC file into your Azure SQL database, follow these steps:
- Open SQL Server Management Studio and connect to your Azure SQL server. You can find the server name in the Azure Portal on your SQL server. Go to Properties under the Settings menu.
- If you can’t connect to your server, you may have to allow your UP address in the firewall. Select Firewalls and virtual network under the Settings menu and enter your IP address or a range of IPs.
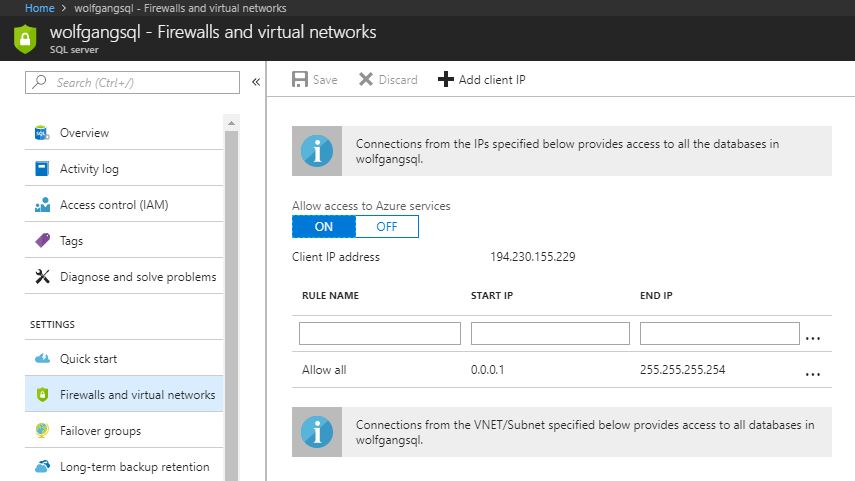
Configure the firewall of your SQL server
- After you are connected to the server, right-click on the database folder and select Import Data-tier Application.
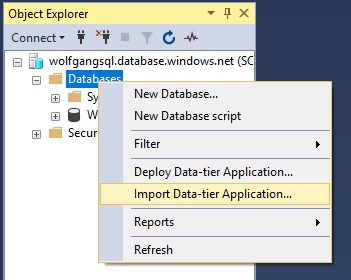
Start the Import Data-tier Application wizard
- In the Import Data-tier Application wizard, select the BACPAC file from a local disk or from your Azure storage account.
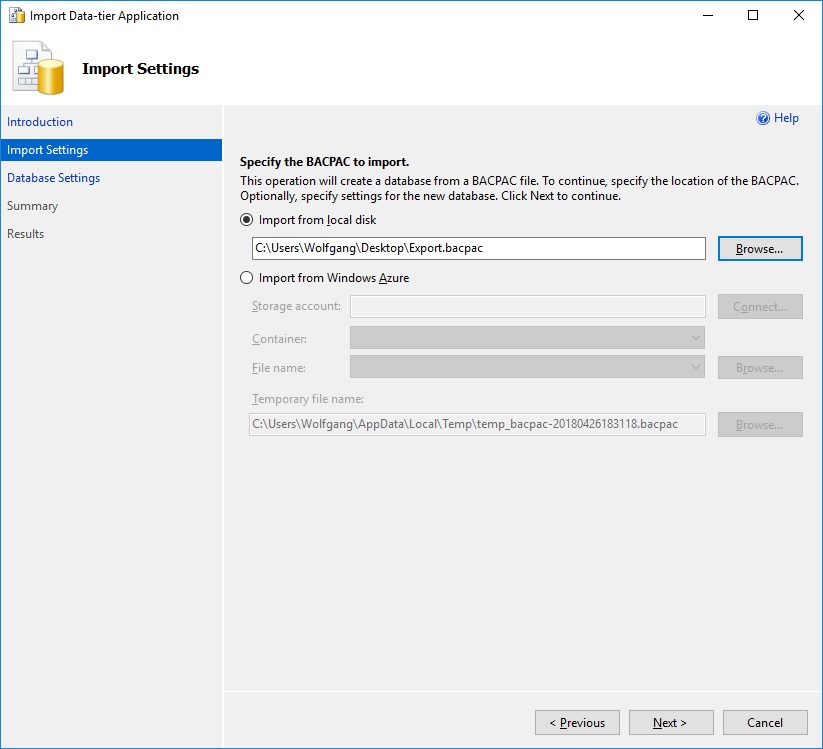
Select your BACPAC file for the import
- On the Database Settings blade, enter a database name and the pricing tier.
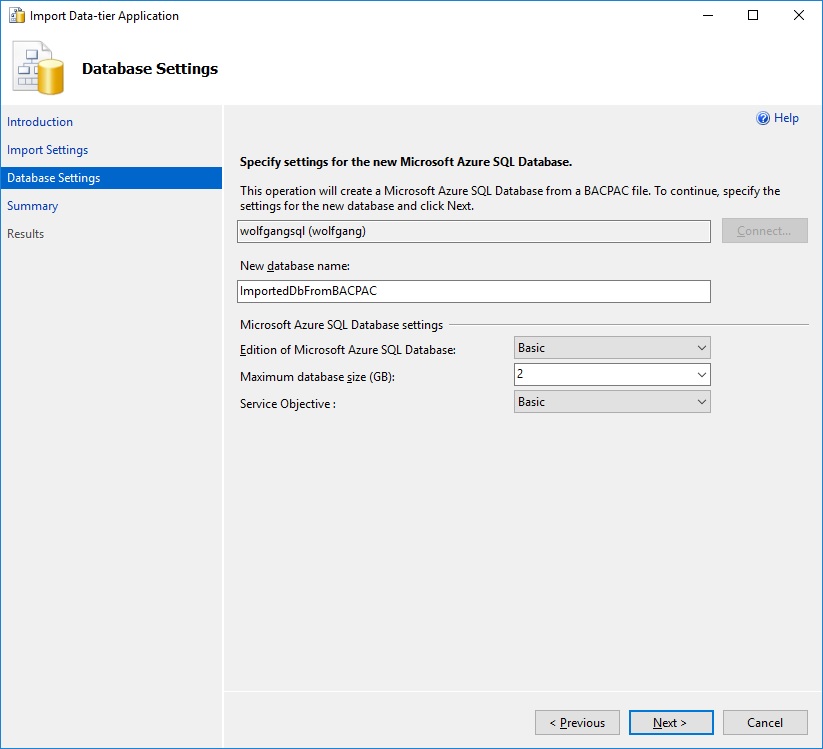
Enter a database name and select the pricing tier
- Click Next and then Finish.
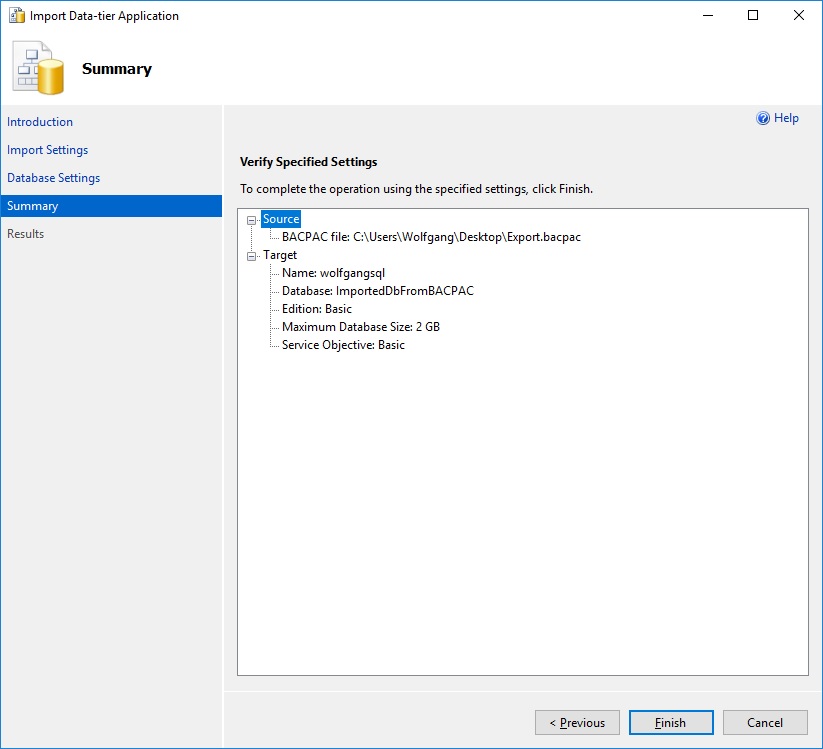
The summary of the import wizard
- After the import process is finished, you can see the database in your SQL server in the Azure portal by selecting the SQL databases blade under the Settings menu.
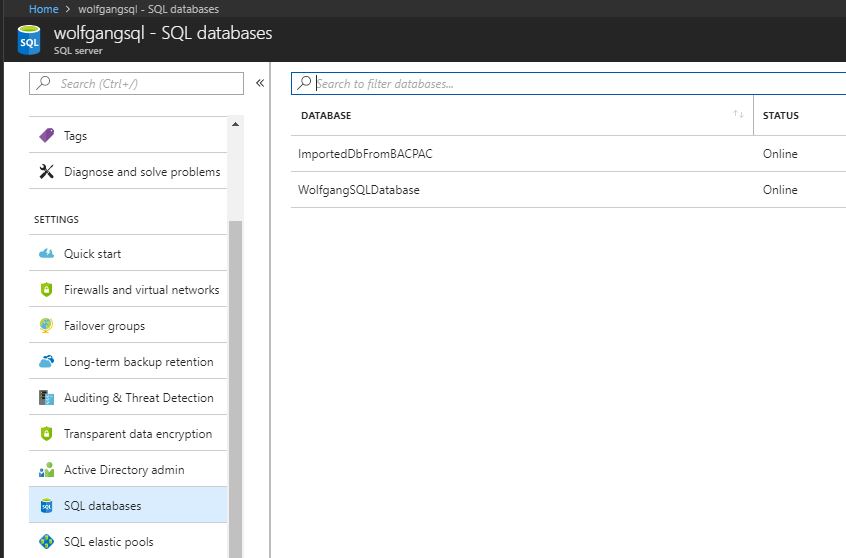
The database got created by the imported schema
Scale Azure SQL databases
You can scale-up and scale-out your Azure SQL databases.
Scaling-up means to add CPU, memory, and better disk i/o to handle the load. To do that click in the Azure portal on your database on Database size under the monitoring menu and move the slider to the right, or select a higher pricing tier.
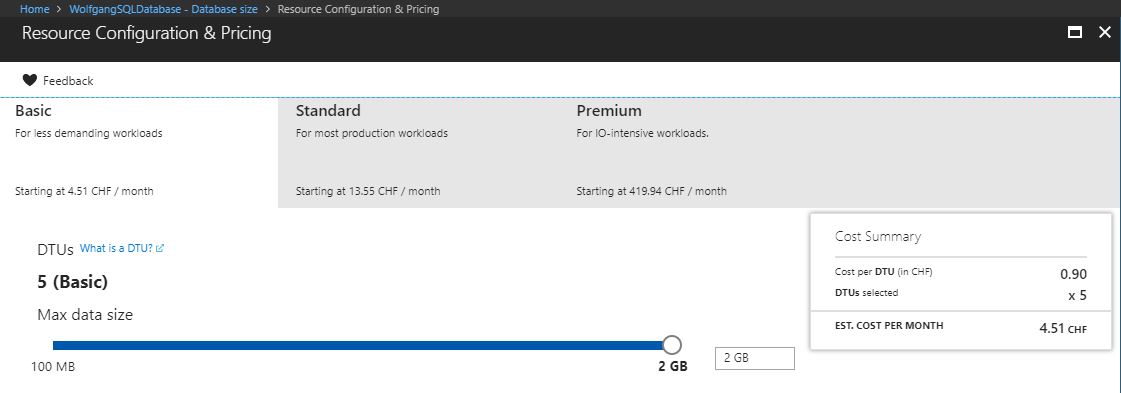
Scale-up your Azure SQL database
Scaling-up will give you more DTUs.
Scaling-out means breaking apart a database into smaller pieces. This is called sharding. Methods for sharding can be, for example, by function, by geo-location or by business unit.
Another reason for sharding can be that the database is too large to be stored in a single Azure SQL database or that taking a backup takes too long due to the size of the database.
To increase the performance, a shard map is used. This is usually a table or database that tells the application where data actually is and where to look for it. A shard map also keeps you from rewriting a big part of your application to handle sharding.
Sharding is easily implemented in Azure Table Storage and Azure Cosmos DB but is way more difficult in a relational database. The complexity comes from being transactionally consistent, while having data available and spread throughout several databases.
To help developers, Microsoft released a set of tools called Elastic Database Tools that are compatible with Azure SQL database. This client library can be used in your application to create sharded databases. It has a split-merge tool that will allow you to create new nodes or drop nodes without data loss. It also includes a tool that will keep schema consistent across all the nodes by running scripts on each node individually.
Managed elastic pools, including DTUs and eDTUs
A single SQL database server can have several databases on it. Those databases can each have their own size and pricing tier. This might work out well if you always know exactly how large each database will and how many DTUs are needed for each one. What happens if you don’t really know that? What if you want all your databases on one server to share their DTUs? The solution for this are Elastic pools.
Elastic pools enable you to purchase elastic Database Transaction Units (eDTUs) for a pool of multiple databases. The user adds databases to the pool, sets the minimum and maximum eDTUs for each database, and sets the eDTU limit of the pool based on your budget. This means that within the pool, each database is given the ability to auto-scale in a set range.
Create an Elastic pool
To create an Elastic pool, follow these steps:
- Go to your SQL server in the Azure portal and click on +New pool on the Overview blade.
- On the Elastic database pool blade, provide a name and select a pricing tier under the Configure pool setting.
- On the Resource Configuration & Pricing blade, click on Databases and then +Add databases to add your databases.
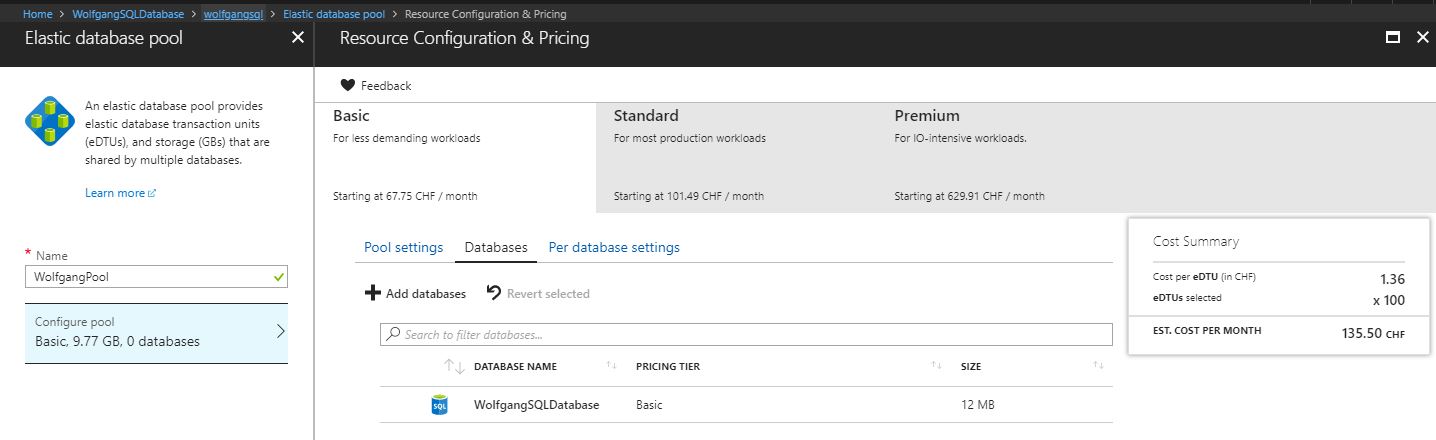
Create a new Elastic pool
- Click OK to create your Elastic pool.
Implement Azure SQL Data Sync
SQL Data Sync allows you to bi-directionally replicate data between two Azure SQL databases or between an Azure SQL database and an on-premise SQL server.
Azure SQL Data Sync has the following attributes:
| Attribute | Description |
| Sync Group | A Sync Group is a group of databases that you want to synchronize using Azure SQL Data Sync. |
| Sync Schema | A Sync Schema is the data you want to synchronize. |
| Sync Direction | The Sync Direction allows you to synchronize data in either one direction or bi-directionally. |
| Sync Interval | Sync Interval controls how often synchronization occurs. |
| Conflict Resolution Policy | A Conflict Resolution Policy determines who wins if data conflicts with one another. |
The following screenshot shows how a data sync infrastructure could look like.
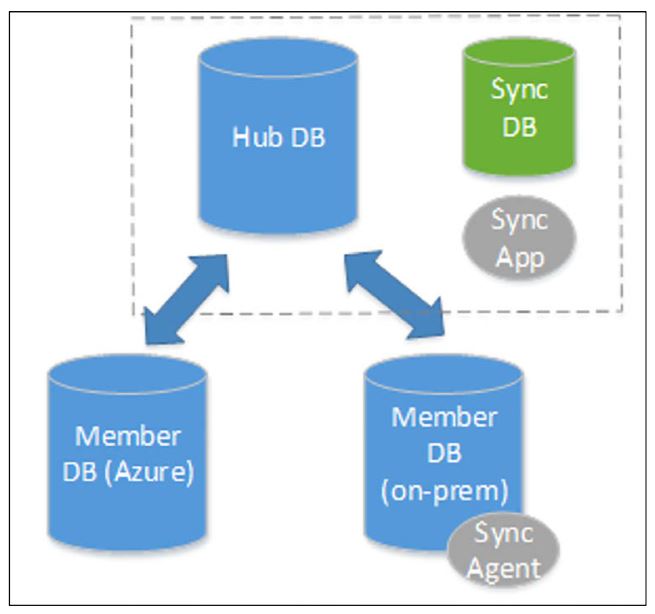
Azure Data Sync diagram (Source)
The hub database must always be an Azure SQL database. A member database can either be an Azure SQL database or an on-premise SQL server.
It is important to note that this is a method of keeping data consistent across multiple databases, it is not an ETL (Extract, Transform and Load) tool. This should not be used to populate a data warehouse or to migrate an on-premise SQL server to the cloud. This can be used to populate a read-only version of the database for reporting, but only if the schema is 100% consistent.
Implement graph database functionality in Azure SQL database
A graph database is a NoSQL solution and introduces two new vocabulary words: nodes and relationships.
Nodes are entities in relational database terms and a relationship shows that a connection between nodes exists. The relationship in a graph database is hierarchical, where it is flat in a relational database.
A graph is an abstract representation of a set of objects where nodes are linked with relationships in a hierarchy. A graph database is a database with an explicit and enforceable graph structure. Another key difference between a relational database and a graph database is that as the number of nodes increase, the performance cost stays the same. Joining tables will burden the relational database and is a common source of performance issues when scaling. Graph databases don’t suffer from that issue.
Relational databases are optimized for aggregation, whereas graph databases are optimized for having plenty of connections between nodes.
In Azure SQL database, graph-like capabilities are implemented through T-SQL. You can create graph objects in T-SQL with the following syntax:
Create Table Person(ID Integer Primary Key, Name Varchar(100)) As Node;
Create Table kids (Birthdate date) As Edge;
A query can look like this:
SELECT Restaurant.name
FROM Person, likes, Restaurant
WHERE MATCH (Person-(likes)->Restaurant)
AND Person.name = ‘Wolfgang’;
This query will give you every restaurant name which is liked by a person named Wolfgang.
Conclusion
In this post, I showed how to create an Azure SQL database and how to export the schema and metadata from your on-premise database to move it into the cloud. After creating the database in the cloud, I talked about restoring a backup and enabling geo-replication to increase the data security. Next, I talked about leveraging Elastic pools to dynamically share the resources between several databases and by doing so keeping your costs low. The last section talked about implementing graph database functionality with your Azure SQL database.
For more information about the 70-532 exam get the Exam Ref book from Microsoft and continue reading my blog posts. I am covering all topics needed to pass the exam. You can find an overview of all posts related to the 70-532 exam here.
Comments powered by Disqus.