

YAML pipelines can get quite long and unclear over time. In programming, developers use several files to separate logic to make the code easier to understand. The same is possible using templates in YAML pipelines. Additionally, these templates can be used in several pipelines reducing duplicate code.
This post is part of “Microservice Series - From Zero to Hero”.
YAML Pipelines without Templates
In my last post, I worked on a pipeline that built a .NET 5 application, ran tests, pushed a docker image, and deployed it to Kubernetes using Helm. The pipeline had 143 lines of code in the end. It looked like a wall of text and might be overwhelming at first glance.
You can find this pipeline on GitHub. If you go through the history, you will see how it evolved over time.
What Pipeline Templates are
Templates let you split up your pipeline into several files (templates) and also allow you to reuse these templates either in the same pipeline or in multiple ones. As a developer, you may know the Separation of Concerns principle. Templates are basically the same for pipelines.
You can pass parameters into the template and also set default values for these parameters. Passing parameters is not mandatory because a previously defined variable would still work inside the template. It is best practice to pass parameters to make the usage clearer and make the re-usage easier though.
Another use case for templates is to have them as a base for pipelines and enforce them to extend the template. This approach is often used to ensure a certain level of security in the pipeline.
Create your first Template
I like to place my templates in a templates folder inside the pipelines folder. This way they are close to the pipeline and can be easily referenced inside the pipeline.
Create Templates without Parameters
The first template I create is for the build versioning task. To do that, I create a new file, called BuildVersioning.yml inside the templates folder and copy the BuildVersioning task from the pipeline into the template. The only additional step I have to take is to use “step:” at the beginning of the template and intend the whole task. The finished template looks as follows:
Create Templates with Parameters
Creating a template with parameters is the same as without parameters except that parameters get placed at the beginning of the file. This section starts with the parameters keyword and then lists the parameter name, type, and a default value. If you don’t have a default value, leave it empty.
After the parameters, add the steps keyword and add the desired tasks.
Use Templates in the Azure DevOps YAML Pipeline
I placed all tasks in a couple of templates. To reference these templates use the template keyword and the path to the file:
If a template needs parameters, use the parameters keyword and add all needed parameters:
I put all tasks into templates and tried to group what belonged together. The pipeline looks as follows now:
The pipeline has now 51 instead of 143 lines of code and I think that it is way easier to find certain parts of the code now.
Running the Pipeline
After you added your templates, run the pipeline and you will see that it works the same way as before.
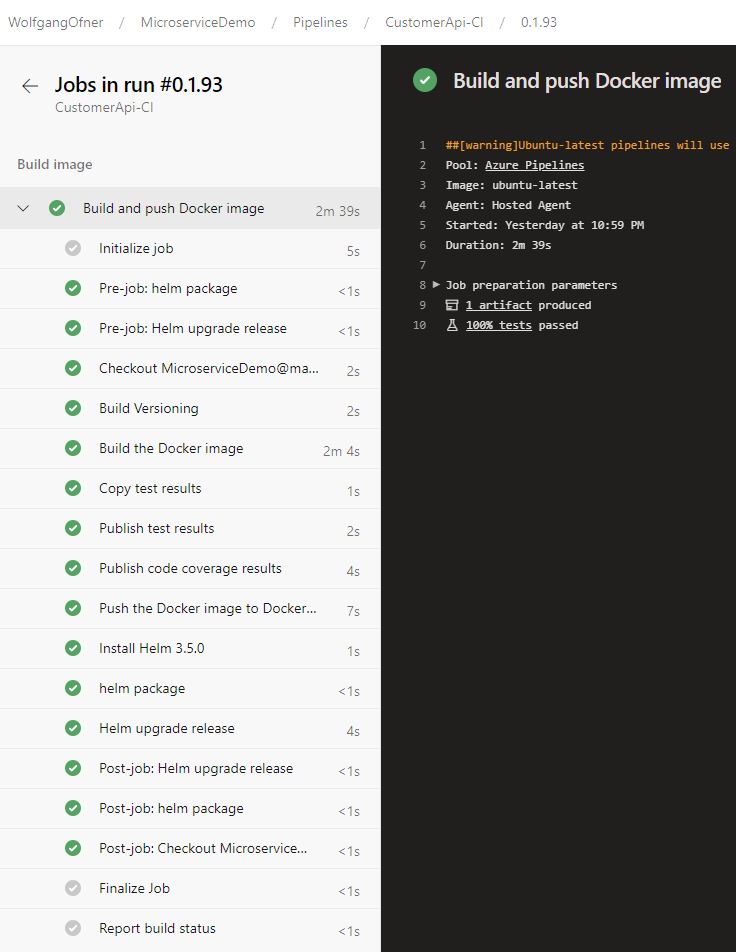
The pipeline works with the templates
Conclusion
Templates are great to simplify Azure DevOps YAML pipelines. Additionally, they are easy to reuse in multiple pipelines and help so to speed up the development time of new pipelines.
You can find the code of the demo on GitHub.
This post is part of “Microservice Series - From Zero to Hero”.
Comments powered by Disqus.