
In modern DevOps culture, the goal is to get features as fast as possible into production. Additionally, we have to guarantee that these new features don’t break anything. To do that, I will show in this post how to protect the master branch with a policy that enforces a pull request (PR) and reviews. To further enhance the quality, I will show how to run the CI pipeline from my last post, which builds the solutions and runs all unit tests.
This post is part of “Microservice Series - From Zero to Hero”.
Protect the Master Branch with a Pull Request Policy
To create a new policy go to Project settings –> Repositories –> Policies –> Branch policies and there click the + button.

Create a new Branch Policy
This opens a fly-out where you can select either of the two options. I select “Protect current and future branches matching a specified pattern” and enter master as the branch name. This means that this policy is only valid for the master branch. Then click Create.
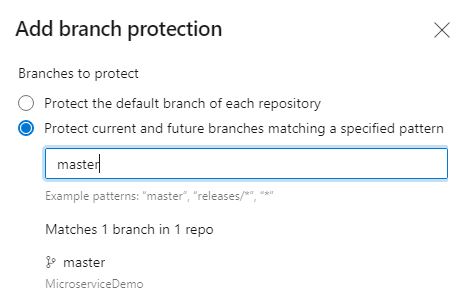
Add a Pull Request Policy for the master branch
This opens the Branch Policies menu where you can configure your pull request.
Configure the Branch Policy
First, I require one reviewer, allow the requestor to approve their changes, and reset the vote every time new changes are committed. Usually, I don’t allow the requestor to approve their changes but since I am alone in this demo project I allow it. Microsoft recommends that two reviewers should check the pull request for the highest quality.
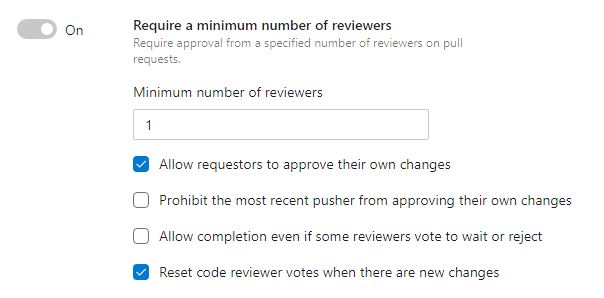
Configure the minimum number of reviewers
Next, I require every pull request to be linked with a work item. There should never be code changes without a PBI or Bug ticket describing the desired changes. Therefore, this is required.
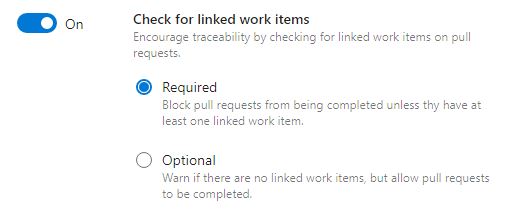
Check for linked work items
Reviewers provide their feedback with comments, therefore, I require all comments to be resolved before a pull request can be completed. In my projects, always the creator of the comment resolves the comment and not the creator of the PR.
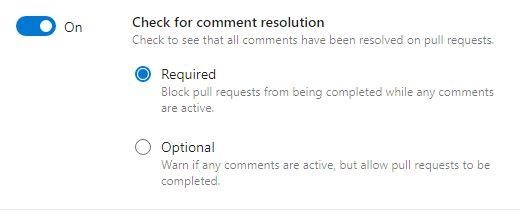
Configure comment resolution
Companies have different merge strategies. Some use squash merges, some do rebase and some do just basic merges. It is good to have a merge strategy and limit the pull request to your strategy. In my projects, I do squash merges because I don’t care about all the commits during the development. I only care about the finished feature commit, therefore, I only allow squash merges.
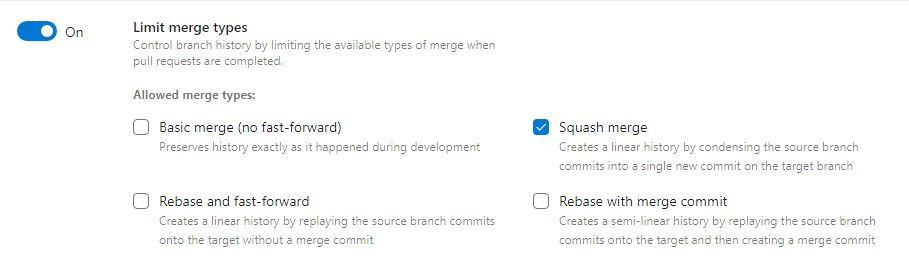
Limit the merge types
Configure automatic Builds
Now we come to the most interesting part of the policy. I add a build policy and select the previously created CustomerApi CI pipeline. You can find the post here. I set /CustomerApi/* as the path filter. The automatic trigger starts the build every time changes are committed inside the CustomerApi folder and the build expires after 12 hours. This means if the pull request is not completed within 12 hours, the build has to be triggered again.
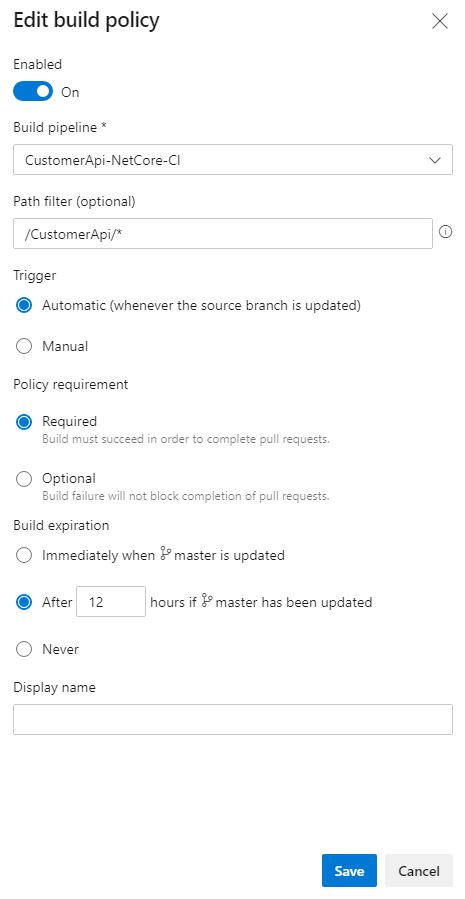
Add a build policy for the CustomerApi to the Pull Request
Add another build policy for the OrderApi and enter /OrderApi/* as the path filter. Click on Save and the policy is configured and created.
Make changes to the Code
I added a new unit test, commit the changes to the master branch, and push the changes. Due to the policy on the master branch, I am not allowed to push changes directly to the master branch, as seen on the following screenshot.

Pushing directly to master is not allowed
Since the master branch is protected, I have to create a feature branch. I name this branch addunittest and push the changes to Azure DevOps.

Pushing a new branch
In Azure DevOps under Repos –> Files, you can see that Azure DevOps registered the changes and already suggest to create a new PR. Click on Create a pull request and you will get into a new window.

Create a new Pull Request
Create a new Pull Request
Add a title, and optionally a description, reviewers, and work items. I like to have 1-3 sentences in the description to explain what you did. As for the title, I usually use the PBI number and the PBI title (not in this example though).
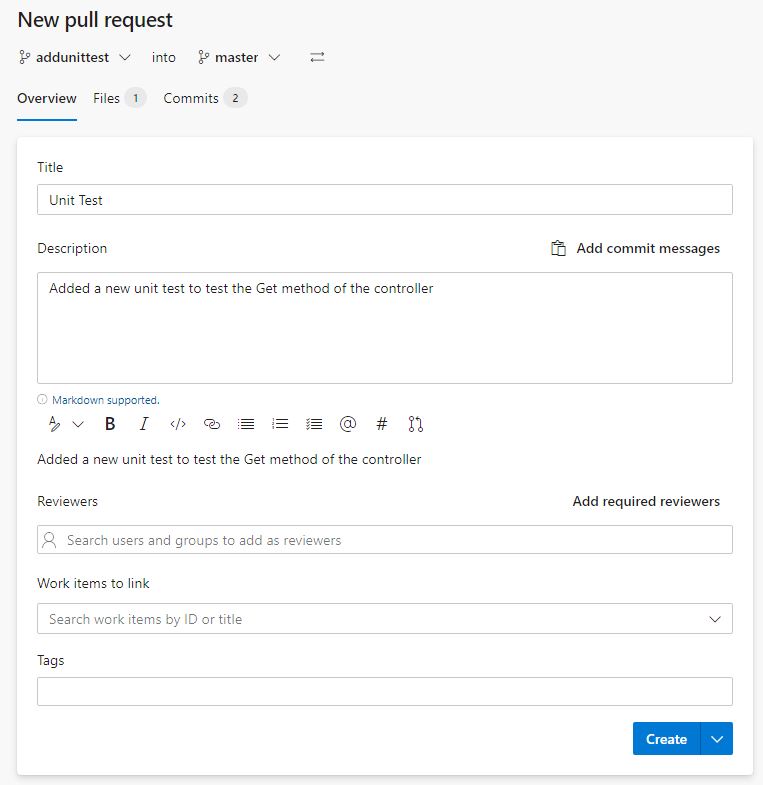
New Pull Request
After the pull request is created, the build will kick off immediately, and also all other required policies will be checked. As you can see on the following screenshot, the build failed due to a failing test, no work item is linked and not all comments are resolved. Therefore, I can’t complete the PR.
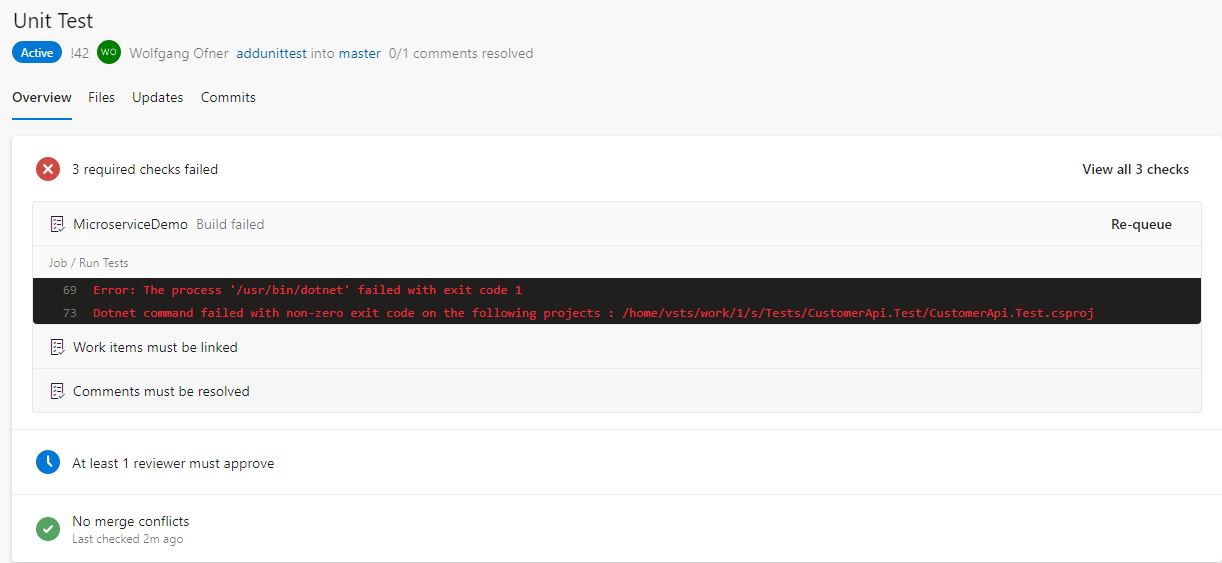
Required checks failed
I fixed my unit test, added a link to the PB, and fixed the suggested changes from the comment. The comment creator resolved the comment and this enabled me to complete the pull request. On the following screenshot, you can see that I also changed the title of the PR to have to PBI number and title in it.
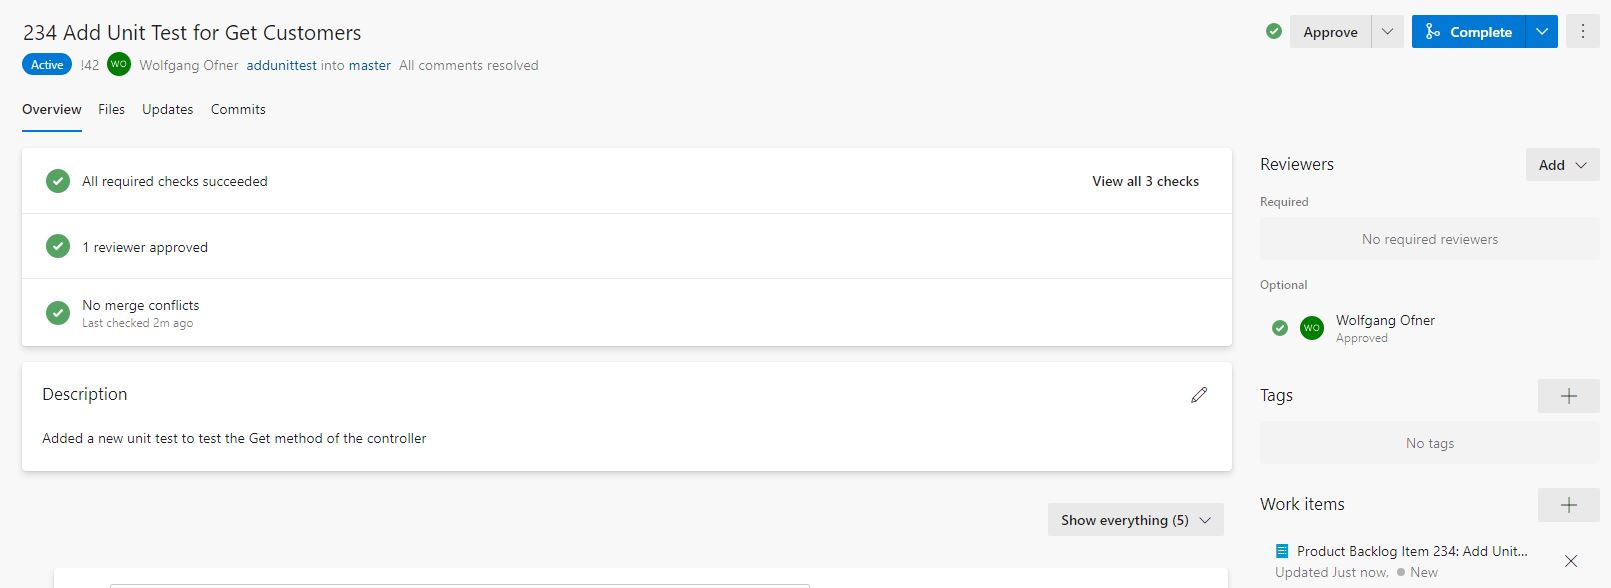
All checks passed
Complete the Pull Request
When you click on Complete, you can select a merge type. Since I restricted the merge strategy to squash commit only, I can’t select any other strategy.
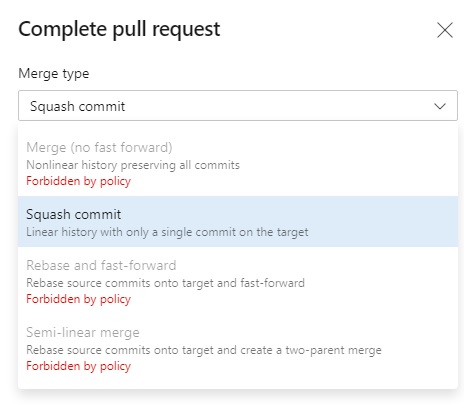
Only Squash commit is allowed by the Pull Request policy
The definition of done in my projects is that the PBI is set to done when the pull request is finished (because we deploy the feature automatically to prod when the PR is completed). Additionally, I select to delete my branch after merging.
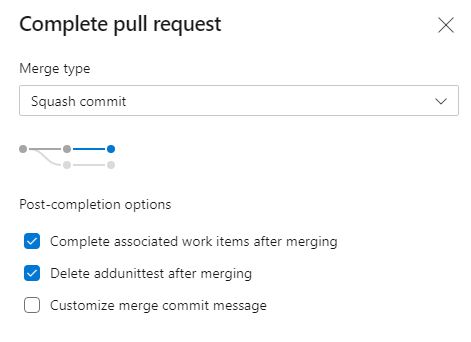
Complete the Pull Request
The PR creator can also select auto-complete to complete the pull request automatically when all required checks are OK. After the merge to master is completed, the CI pipeline automatically kicks off a build of the master branch.
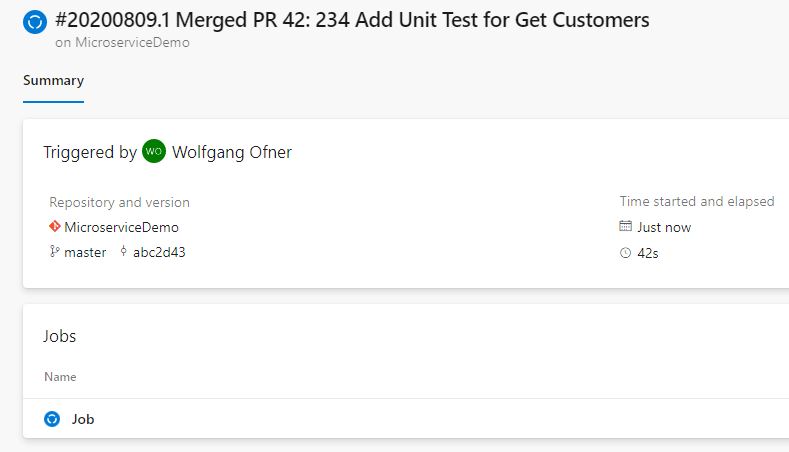
The master branch trigger a CI build
Conclusion
In this post, I explained how to protect the master branch from changes in Azure DevOps. I showed how to add a branch policy to the master branch in Azure DevOps and also how to run a build process to check if the solution compiles and if all tests run successfully.
You can find the code of this demo on GitHub.
This post is part of “Microservice Series - From Zero to Hero”.
Comments powered by Disqus.